Whether you’re a 3D artist, animator, game developer, or designer, understanding what are 3D textures? A complete guide in 2025 is essential to creating immersive, believable, and visually stunning projects. Texturing plays a vital role in breathing life into 3D models. Without textures, even the most perfectly modeled characters or environments can look flat and unconvincing.
This guide walks you through the intricacies of 3D textures—from foundational concepts to advanced techniques—with a step-by-step approach designed for both beginners and seasoned creators. Let’s dive into the fascinating world of 3D texturing.
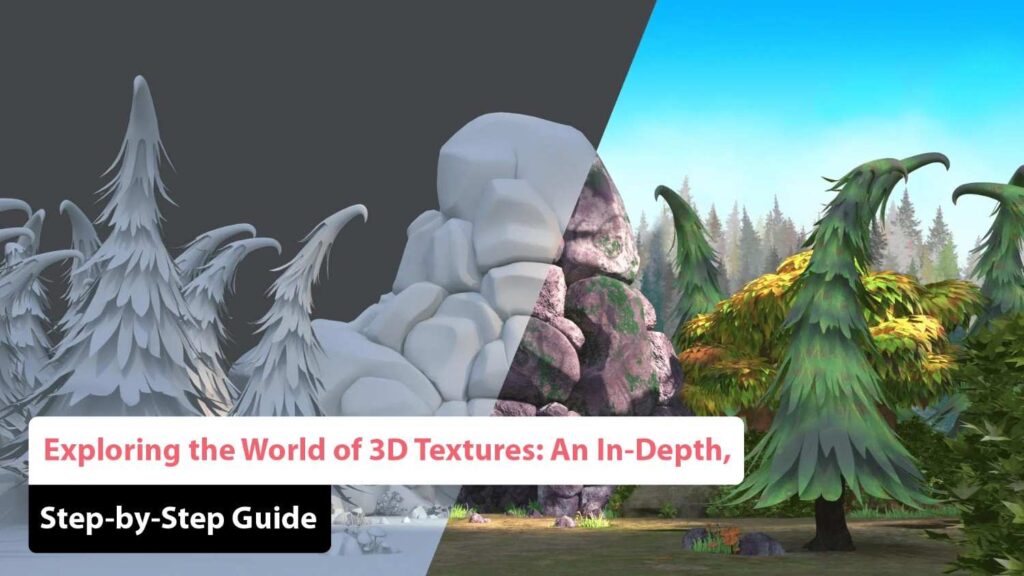
What Are 3D Textures? A Complete Guide
3D textures are image-based details or procedural patterns applied to the surface of 3D models to define their visual appearance. These textures control aspects like color, reflectivity, bumpiness, transparency, and more.
In essence, 3D textures determine how light interacts with a surface, affecting realism. Textures are typically mapped onto a model using coordinates in a process called UV mapping.
Common types of 3D textures include:
- Diffuse (Albedo) Map: Defines the base color.
- Normal Map: Simulates surface details like wrinkles, grooves, and bumps.
- Specular or Roughness Map: Controls shininess or matte look.
- Displacement Map: Actually alters the model’s geometry for more depth.
Understanding how to use these different maps effectively is key to mastering texture workflows.
Best Software for Creating 3D Textures
In 2025, artists are spoiled with a wide range of advanced, intuitive tools. The best software for creating 3D textures includes:
1. Substance 3D Painter (Adobe)
This remains the industry standard for 3D painting, offering real-time painting directly onto 3D models with powerful brushes, masks, and procedural layers.
2. Blender
An open-source solution that has significantly improved its texturing capabilities, supporting both procedural and painted textures.
3. Quixel Mixer
Popular for realistic material blending and Megascans integration.
4. ZBrush
While known for sculpting, it also provides robust texturing and poly-painting features.
5. Mari (Foundry)
Used in high-end film production, it excels in handling complex, high-resolution textures.
Choose a tool that fits your workflow, whether you’re texturing for games, films, or product design.
Step-by-Step Process of 3D Texture Mapping
To truly grasp how textures are applied, follow this step-by-step process of 3D texture mapping:
Step 1: UV Unwrapping
Every 3D model needs UV coordinates—flat, 2D representations of a 3D surface. UV unwrapping is the process of laying out the model’s surface in 2D space.
- Use seams strategically for minimal distortion.
- Ensure proper scale and spacing to avoid texture stretching.
Step 2: Create or Import Textures
You can either create hand-painted textures or use photos/material libraries like Substance Source or Megascans.
Step 3: Assign Materials
Materials are containers that hold textures and define how the surface reacts to light.
- Use PBR (Physically Based Rendering) workflows.
- Combine multiple maps (Diffuse, Normal, Roughness, etc.)
Step 4: Apply and Preview Textures
Load textures into your 3D software, assign to materials, and preview in your render engine.
Step 5: Fine-Tuning
Adjust texture scale, rotation, tiling, and blending for seamless integration.
Realistic 3D Texturing Techniques for Beginners
Mastering realism requires understanding the fine details. Here are realistic 3D texturing techniques for beginners:
1. Reference First
Always work with real-world references. Study how light reacts to different surfaces like metal, fabric, or skin.
2. Use High-Resolution Textures
Start with at least 2K or 4K textures to retain detail, especially for close-ups.
3. Layering Textures
Use overlays and masks to simulate wear, dirt, rust, or moss.
4. Bump and Normal Maps
They add depth without increasing polygon count—vital for performance.
5. Roughness Variation
Avoid uniform surfaces. Add imperfections to make materials feel natural.
Difference Between Procedural and Hand-Painted Textures
Understanding the difference between procedural and hand-painted textures is essential when choosing your workflow.
Procedural Textures:
- Generated mathematically using nodes.
- Highly customizable and resolution-independent.
- Great for repetitive or natural surfaces like wood, stone, or clouds.
- Efficient for parametric material generation.
Hand-Painted Textures:
- Created manually, often in Photoshop or directly on the 3D model.
- Offers artistic freedom and stylization.
- Common in stylized games or animations (e.g., Fortnite or Zelda: BOTW).
Each approach serves different styles and project needs. In many cases, artists combine both for hybrid workflows.
How to Apply Textures in 3D Rendering
Now that you’ve created your texture maps, here’s how to apply textures in 3D rendering:
1. Use a Physically Based Renderer (PBR)
Engines like Cycles (Blender), Arnold (Maya), Redshift, or Octane render textures with realistic light simulation.
2. Connect Textures to Shader Nodes
- Base Color (Albedo)
- Normal Map (for surface detail)
- Roughness Map (for shininess)
- Metallic Map (for metals vs non-metals)
3. Set Lighting and Environment
Accurate lighting (HDRI, area lights) is critical to preview texture interactions properly.
4. Render Settings
Set resolution, anti-aliasing, and texture filtering properly to prevent blurriness or artifacts.
Pro Tips: Elevate Your Texturing Workflow
Want to go beyond basic texturing? Try these:
- Bake Textures: Bake details (like AO, normal maps) from high-poly models onto low-poly versions for game-ready assets.
- Smart Materials: Use software like Substance Painter for auto-assigning weathering or material properties.
- Use UDIMs: For high-resolution characters and environments, UDIMs allow multiple texture tiles across UV space.
Conclusion
Mastering 3D textures requires both technical skill and artistic intuition. From understanding what are 3D textures? A complete guide to knowing the step-by-step process of 3D texture mapping, each element contributes to immersive, believable 3D artwork.
In 2025, the line between realism and simulation continues to blur thanks to powerful tools and evolving techniques. Whether you prefer hand-painted charm or procedural precision, the secret lies in practice, observation, and constant learning.
Frequently Asked Questions (FAQ’s)
What is 3D texturing?
3D texturing is the process of applying surface detail and color to a 3D model to give it a realistic and intricate appearance. This involves mapping 2D images onto the 3D model’s surface to simulate textures like colors, patterns, and material properties, enhancing visual fidelity and realism.
What are the common techniques used in 3D texturing?
Common techniques include:
- Painting: Direct application of textures using software like Photoshop or Substance Painter.
- Procedural Texturing: Uses algorithms to generate textures algorithmically.
- Decals: Adds detailed images or logos over 3D models.
- PBR Textures: Simulates real-world light interactions with materials.
- Photogrammetry: Uses photographs to create detailed textures.
- Sculpting: Modifies the model’s surface to add intricate details.
- Displacement Mapping: Alters the geometry of a model to add surface detail.
- UV Mapping: Unwraps the model’s surface to apply 2D textures accurately.
- Normal Mapping: Simulates fine surface details without adding extra geometry.
How do I choose the right 3D texturing software?
Selecting the right software depends on your project needs and experience level. Popular options include:
- Substance Painter for dynamic material layering and real-time rendering.
- Mari for advanced texture painting and high-resolution support.
- ZBrush for sculpting and direct painting on 3D models.
- 3D-Coat for sculpting, painting, and retopology.
- Blender for a comprehensive open-source solution.
What is UV mapping, and why is it important?
UV mapping is the process of unwrapping a 3D model’s surface to create a 2D texture map. This is crucial for applying textures accurately and ensuring they fit seamlessly across the model. Proper UV mapping prevents texture distortion and maintains visual integrity from different angles.
How do I turn a sketch into a 3D textured model?
To turn a sketch into a 3D textured model:
- Select your software (e.g., Blender, Maya).
- Import and model your sketch.
- UV unwrapped the model to prepare it for texturing.
- Apply textures using texture painting programs.
- Map textures onto your model.
- Enhance with lighting and shading for realism.
- Refine and iterate for accuracy.
- Export and test the model in various environments.