Our Process
2D Animation
2D videos mainly target marketing and business niches. Curious about how we bring your ideas to life? Let us break down the 5-step 2D animation process for you.

01
Scripting
We listen to your idea, understand your goals, and then write a clear, engaging script. This script acts as the foundation for your animation, helping us plan the story flow and visuals before we start designing.
02
Designing
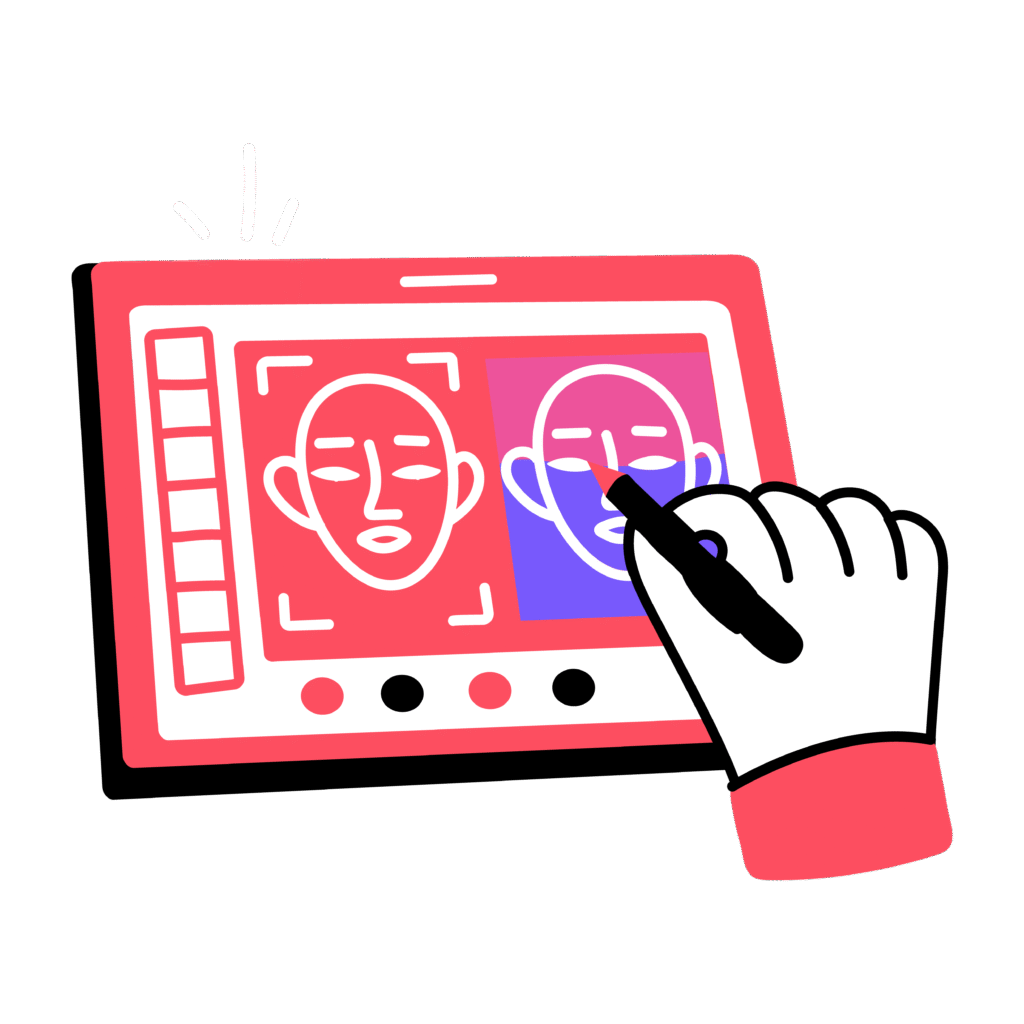
Once the script is ready, we move to design. Our team creates characters, scenes, and backgrounds in a unique 2D style that matches your brand and message. Each element is drawn with care to make your story visually appealing and easy to follow.
03
Storybording
Next, we bring the written ideas to life through storyboards. This helps us visualize how every scene will look and move. We also add voiceovers or sound cues to align with the story’s pace and emotion, giving you a clear preview of the final animation.
04
Animation
At this stage, everything comes alive. Our animators work frame by frame to make movements smooth and expressive. We focus on timing, expressions, and flow so every action feels natural and keeps the viewer engaged.


05
Music/ voice over / Rendering
Once the animation is complete, we add sound the final layer that brings emotion to the story. Background music, voiceovers, and effects are carefully synced to enhance the mood. Finally, the video is rendered in full quality and ready to share with the world.
3D Animation
3D animation is the talk of the town; its uses range from gaming to architecture and more. Companies frequently use 3D characters to tell interesting stories and promote their products. However, the process is time-consuming and labor-intensive. Here’s a glimpse at how we produce memorable 3D character animations.
01
Modeling
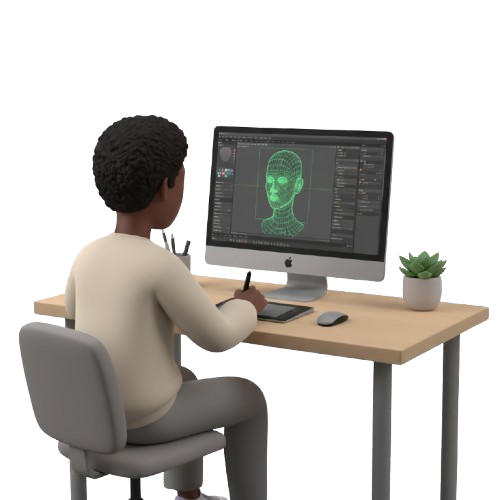
We start by understanding your project goals and creative vision. Our artists then create detailed 3D models of characters, objects, or environments building the base that everything else stands on. Every shape, curve, and structure is carefully crafted to match your concept.
02
Texturing
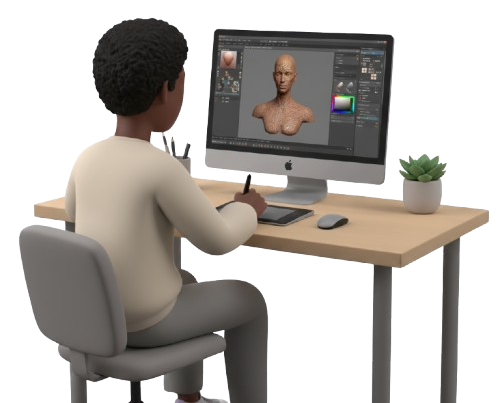
Once the models are ready, we add textures that bring them to life. From skin tones to metal surfaces, every detail is designed using advanced 3D tools. This step gives your models realistic colors, depth, and surface feel.
03
Rigging
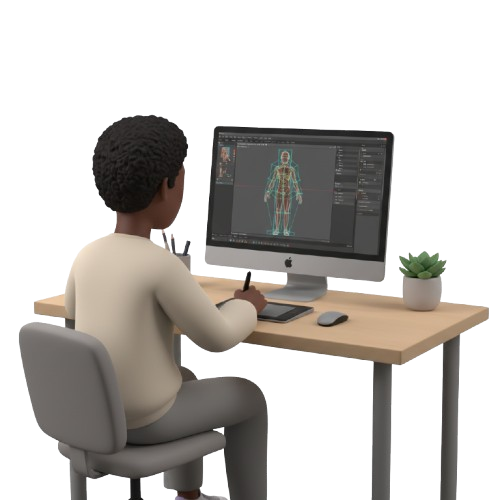
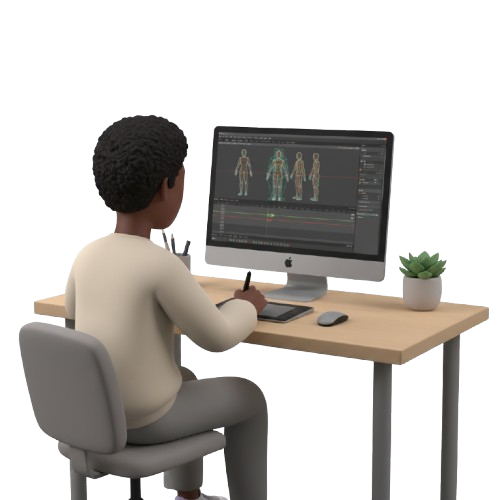
Next, we prepare the models for movement by adding a digital skeleton, known as rigging. This allows the characters and objects to move naturally. Whether it’s a facial expression or a full body motion, this step makes everything flexible and lifelike.
04
Animation
Now comes the most exciting part bringing everything to motion. Our animators work frame by frame to make characters move smoothly, ensuring every action feels expressive and believable. Finally, the animation is rendered in high quality, ready for use in films, ads, games, or presentations.
Frame By Frame
Frame-by-frame animation benefits are quite broad as it helps reach various business goals. It is commonly used in gaming, cinematics, education, and manufacturing. Here’s how our animators produce a full-fledged traditional/frame-by-frame animated video.
01
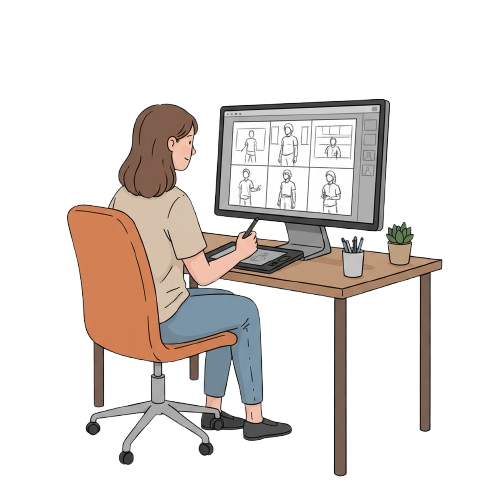
Line Art and Storyboarding
We start by sketching out rough ideas and storyboards. This helps us plan the scenes, movements, and overall flow of the animation before we go into details. It’s the foundation where the story begins to take shape.
02
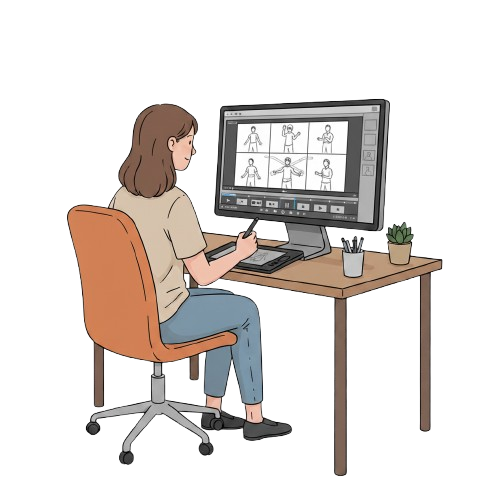
Animatic
Next, we turn those storyboards into an animatic a simple moving version of the animation. This step helps us test how the scenes connect, check timing, and make early adjustments before full production starts.
03
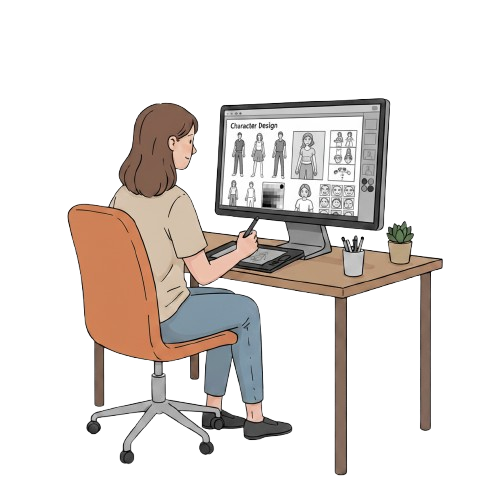
Carector design
Once the flow is clear, our team designs each character carefully focusing on expressions, movement style, and personality. The goal is to make them feel alive and suitable for the story’s tone and message.
04
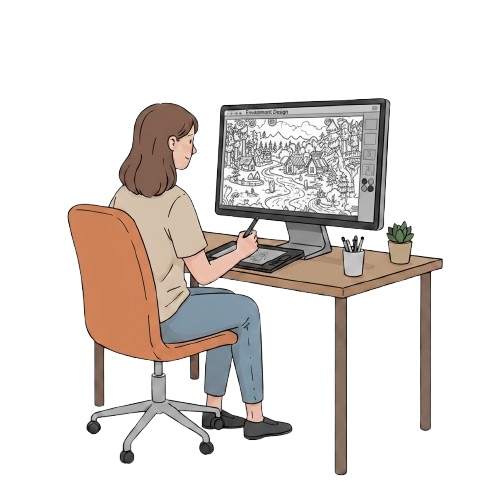
Environment design
After that, we design the backgrounds and environments where the story takes place. Lighting, atmosphere, and small details are added to make every scene look natural and immersive.
05
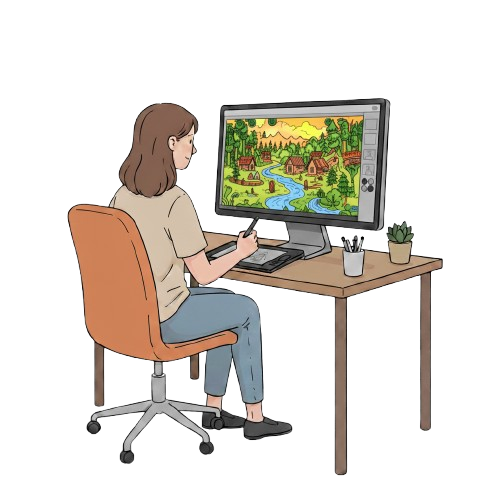
Coloring
In this stage, we add colors to all the frames. Each shade and highlight is chosen to match the story’s mood. This step brings warmth, depth, and life into the animation.
06
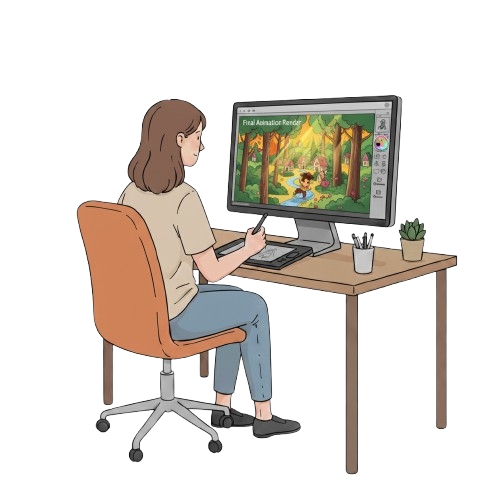
Final animation Render
Finally, we combine everything characters, environments, and sound and render the full animation. We make sure the motion is smooth, timing is perfect, and the story feels complete and ready to deliver.


Define Objectives and Audience
- Set Goals: Identify the purpose of the explainer video. This might include explaining a concept, promoting a product, or outlining a service.
- Understand the Audience: Determine who the target audience is, their needs, and their preferences to tailor the content appropriately.

Scriptwriting
- Develop the Script: Write a clear, concise, and engaging script. Focus on straightforwardly conveying the main message, with a logical flow and a compelling call to action.
- Refine the Message: Ensure the script is easy to understand and avoids jargon, making it accessible to the target audience.


Storyboarding
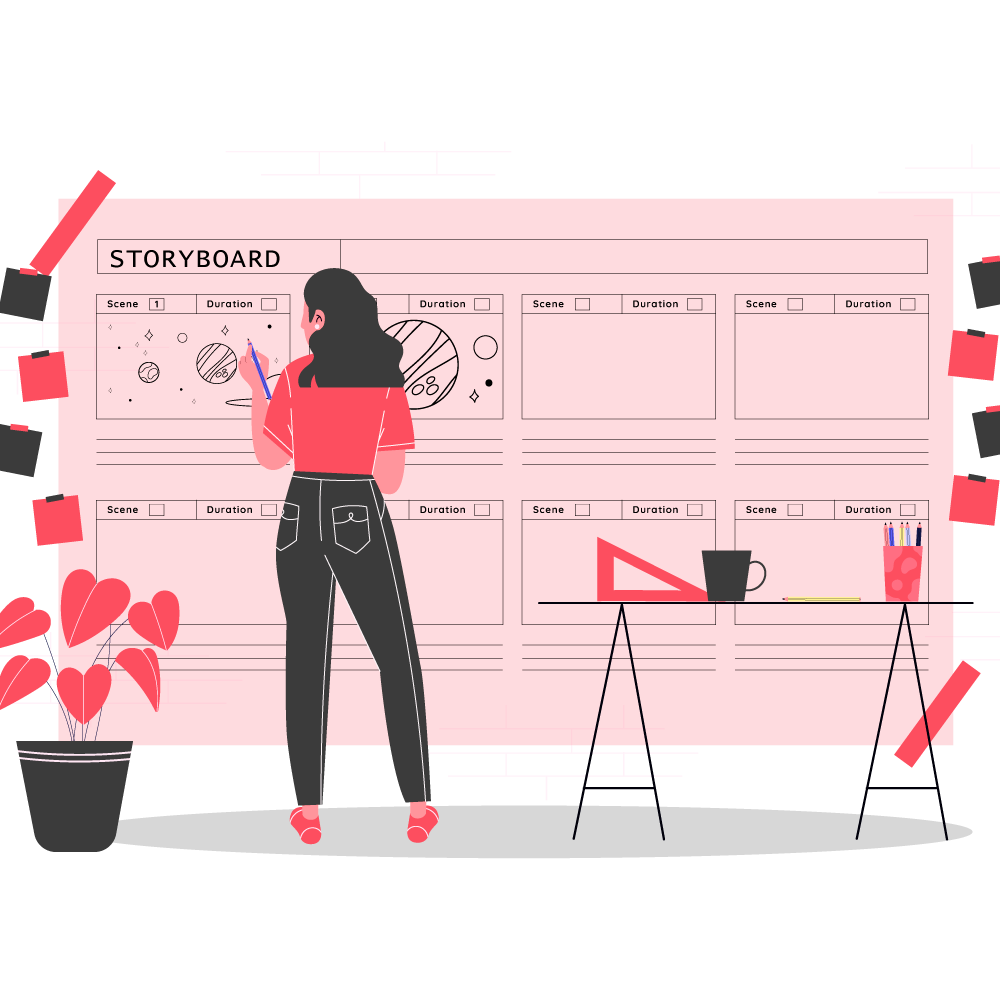
- Create Storyboards: Develop a storyboard to outline the visual sequence of the video. This includes sketches or diagrams that illustrate how each part of the script will be visualized.
- Plan Transitions: Include notes on transitions, visual effects, and key elements to ensure a smooth flow between scenes.

Design and Asset Creation
- Then, we work on the animatics or storyboard – the last pre-production step. It’s a visual guide for defining still frames and scene-wise shots. Background music and recording voiceovers are also a part of it.

Voice-over Recording
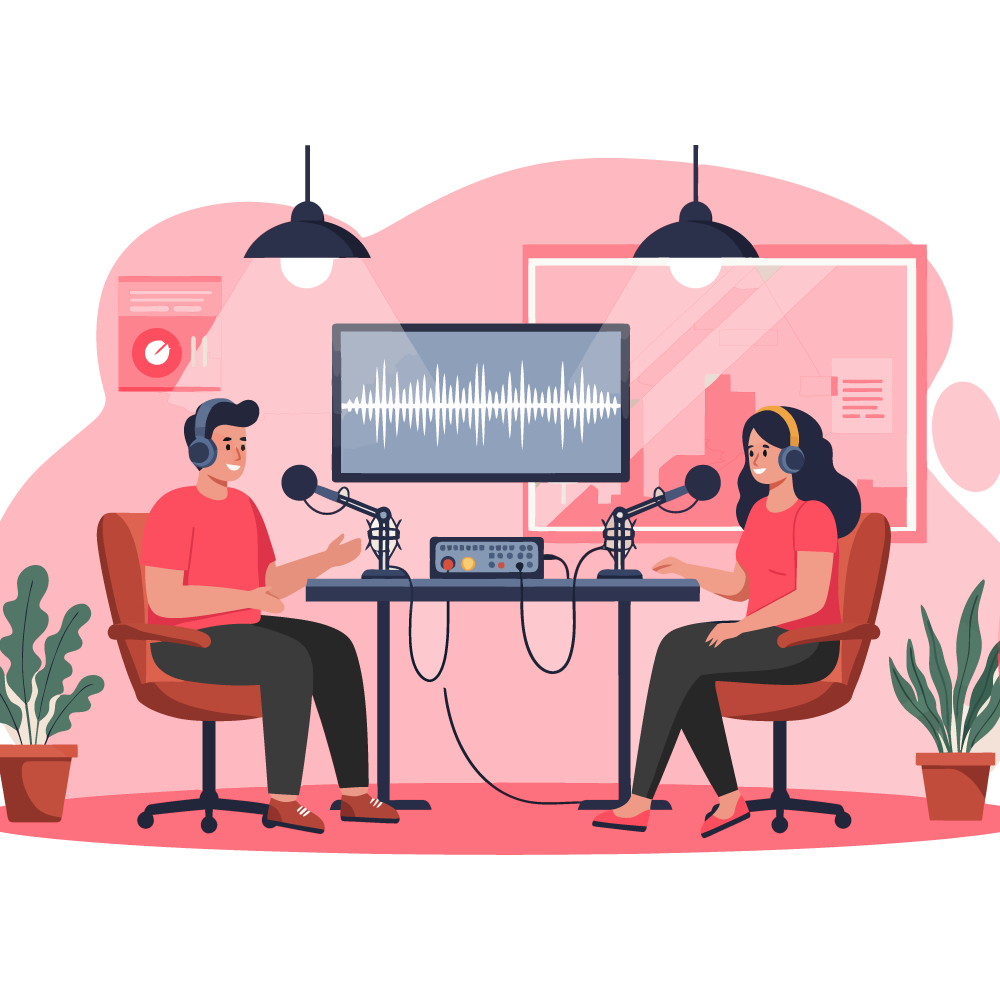
- Record Voice-over: Record the voice-over narration that will guide the video. Ensure the voice-over is clear, professional, and matches the tone and pacing of the script.
- Sync with Animation: Make sure the voice-over timing aligns with the visual elements of the video.

Animation and Production
- Create Animations: Animate the visual elements according to the storyboard. This involves bringing characters and graphics to life through movement and interaction.
- Integrate Visuals and Audio: Combine the animated visuals with the voice-over and any background music or sound effects.


Sound Design
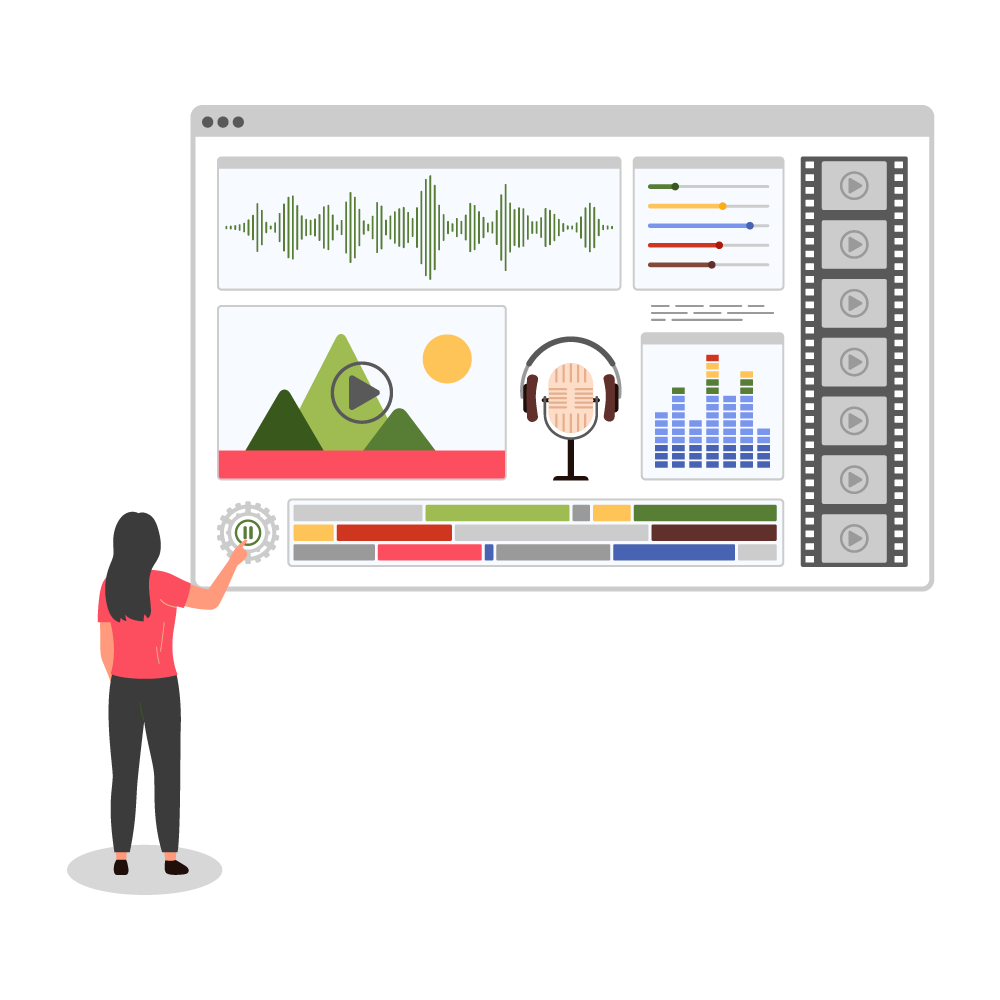
- Add Music and Effects: Incorporate background music and sound effects to enhance the overall experience. Choose audio elements that complement the visuals and reinforce the message.
- Adjust Levels: Ensure that the audio levels are balanced and that the voice-over is clear and audible.

Editing and Refinement
- Edit the Video: Assemble the final video, adjusting timing, transitions, and visual effects as needed. Ensure the video flows smoothly and maintains viewer engagement.
- Review and Revise: Conduct a thorough review to identify any issues or areas for improvement. Make necessary revisions to enhance clarity and impact.


Final Review and Approval
- Seek Feedback: Present the video to stakeholders or clients for feedback. Ensure it meets their expectations and objectives.
- Make Final Adjustments: Implement any final changes based on feedback to ensure the video is polished and effective.

Export and Distribution
- Export the Video: Render and export the final video in the appropriate format and resolution for the intended platform or distribution channel.
- Distribute: Publish or share the video through channels such as websites, social media, email campaigns, or presentations.


Monitoring and Evaluation
- Track Performance: Monitor the video’s performance through metrics such as views, engagement, and feedback.
- Evaluate Success: Analyze the results to assess how well the video met its objectives and identify any areas for improvement in future projects.
Need Help Getting Started? Let's Go
Customer’s Testimonials
At our video animation agency, a group of seasoned animators and video editors collaborate to bring your brand’s story to life with heartfelt storytelling.

Connor K.
I hired Animotions Studio to help me build my website and he did a stellar job. – great at communication – worked on an accurate deadline – worked with me to create a design in figma and build out my website afterwards. There were some advanced animations on my site and he did great job. If you’re on the fence on whether to work with him or not, I’d recommend that you do. I’ll be reaching out to him for future add ons to my website. Thank you


Christine C.
Animotions Studio is an incredibly talented animator. I worked with Animotions Studio on a professional animated explainer video for a new program launch for a large employer group. In addition to his great work, he is an excellent communicator, very responsive, and extremely kind.
If you are looking for an expert to create your animated video, you found a trusted professional in Animotions Studio. I will 100% be working with Animotions Studio again


Jordan Opolot
Animotions Studio demonstrated exceptional communication skills and impeccable timing throughout the entire project. From the very beginning, he was highly responsive, ensuring that every query or concern was addressed promptly and efficiently. His availability and willingness to accommodate revisions made the process incredibly smooth, as he consistently went above and beyond to deliver high-quality results. His speed and professionalism were truly impressive, as he not only met deadlines but often exceeded expectations in terms of efficiency and attention to detail. Working with him was an absolute pleasure, and I sincerely appreciate his dedication and expertise. Without a doubt, I look forward to collaborating with him again on future projects.


Ashley Davis
Animotions Studio , did a fantastic job creating a corporate highlight reel which is absolutely incredible! I can’t thank him enough for his hard work on this video. I’m truly blown away by his outstanding quality and collaborative natures on multiple edits given we had an extremely short turnaround time. Thank you so much for your invaluable contribution—I couldn’t be more grateful!


Oob Agency
Animotions Studio was outstanding in every aspect of the Online Video Ads Post-Production project for our pet store. He demonstrated exceptional responsibility, meeting deadlines with precision and maintaining clear communication throughout the process.
What truly stood out was his attention to detail—every frame was polished, and his creative approach elevated the quality of the final videos beyond our expectations. His focus and dedication to the project were evident in the seamless execution and professional outcome. I highly recommend Ghazanfar for any post-production or video editing needs. He’s a reliable professional who delivers exceptional results!


Michael Hoeffel
Animotions Studio has been outstanding! I am a first time author and had never used anything like Upwork before. He was patient with me and helped me explain the process from start to finish. He was always on time and listened to any feedback I had. He made the project simple and successful. I appreciate how we started out with concepts then he would add detail until the covers were done.


Jhon Doe
Lorem Ipsum is simply dummy text of the printing and typesetting industry. Lorem Ipsum has been the industry’s standard dummy text ever since the 1500s, when an unknown printer took a galley of type and scrambled it to make a type specimen book.


Jhon Doe
Lorem Ipsum is simply dummy text of the printing and typesetting industry. Lorem Ipsum has been the industry’s standard dummy text ever since the 1500s, when an unknown printer took a galley of type and scrambled it to make a type specimen book.


Jhon Doe
Lorem Ipsum is simply dummy text of the printing and typesetting industry. Lorem Ipsum has been the industry’s standard dummy text ever since the 1500s, when an unknown printer took a galley of type and scrambled it to make a type specimen book.


Jhon Doe
Lorem Ipsum is simply dummy text of the printing and typesetting industry. Lorem Ipsum has been the industry’s standard dummy text ever since the 1500s, when an unknown printer took a galley of type and scrambled it to make a type specimen book.


Jhon Doe
Lorem Ipsum is simply dummy text of the printing and typesetting industry. Lorem Ipsum has been the industry’s standard dummy text ever since the 1500s, when an unknown printer took a galley of type and scrambled it to make a type specimen book.


Jhon Doe
Lorem Ipsum is simply dummy text of the printing and typesetting industry. Lorem Ipsum has been the industry’s standard dummy text ever since the 1500s, when an unknown printer took a galley of type and scrambled it to make a type specimen book.

